

スマートスピーカー最近ますます流行ってきていますね。私もスマートスピーカーアプリ開発に挑戦している最中です。そこで、私がスマートスピーカーアプリ開発で知り得た知識や作成の流れを共有していきたいと思います。
もしよろしければ前回の記事も参照ください。


それではまず初めに、Actions on GoogleとDialogFlowでGoogleアシスタント対応アプリを作っていきたいと思います。
最初は最も簡単な、ただ応答するだけのアプリを作る流れをスクリーンショットで解説します。
ノンプログラミングで作れますので、まずはこちらでスマートスピーカーアプリ開発の感覚を掴んでみてください。また、作ったアプリはシミュレーターを用いて検証しますので、PCさえあればGoogle HomeやAndroidスマホをお持ちでない場合でも作って検証することができます。
・Actions on googleとDialogFlowを用いた簡単なgoogleアシスタントアプリ作成の流れが分かるようになる
・シミュレーターで作成したアプリを試せるようになる
必要なもの
・パソコン
・ブラウザ(Google Chrome推奨)
シミュレーターを使うので、スマートスピーカー(Google Home)は無くても問題ありません。
それでは進めていきましょう。
目次
Actions on Google
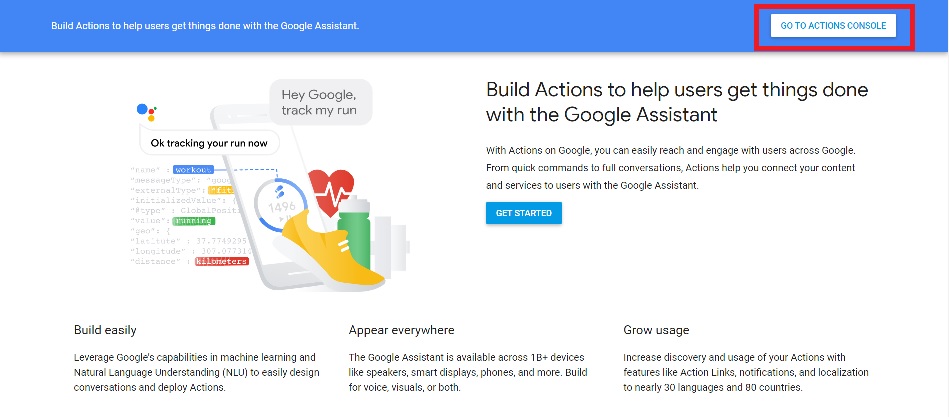
まずはアカウントを作成します。Actions on Googleにログインしましょう。
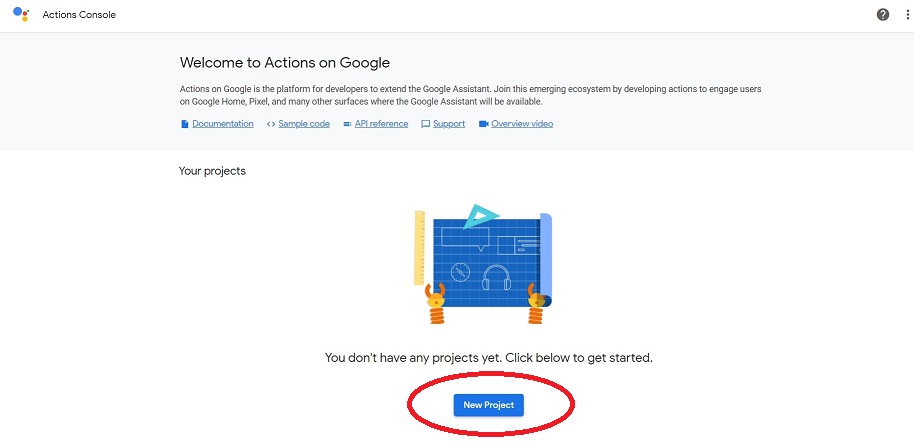
「GO TO ACTIONS CONSOLE」から、「New Project」を選択します。
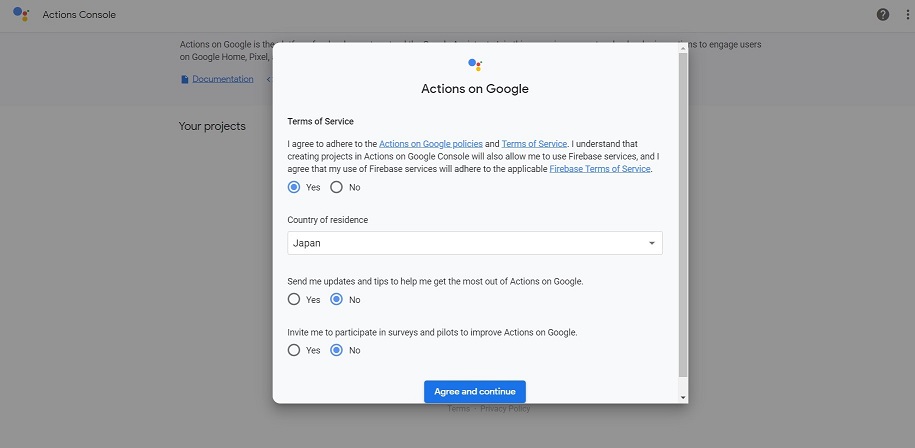
同意を求められるので、一番上の項目をYesにし同意しましょう。なお、下二つのチェックは定期的にActions on Googleの情報をもらうかどうかなので、Noで構いません。
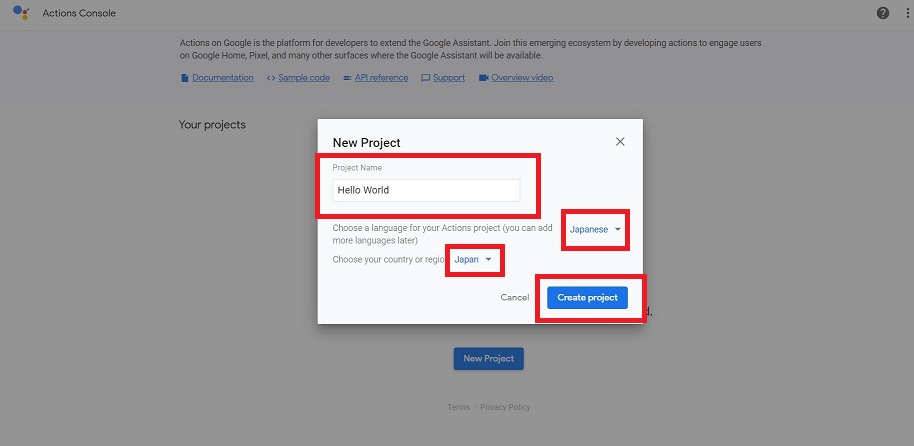
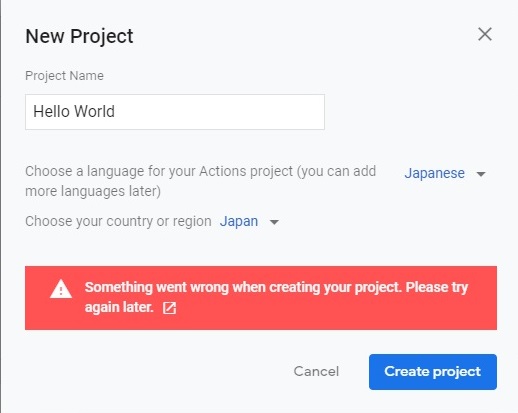
新規プロジェクトの作成画面になりますので、プロジェクト名(ここでは、Hello Worldとしました)と国を日本に変更して「Create project」で作成します。
まれに以下のようなエラーが出ることがありますが、もし出ても一時的なものですので、再度プロジェクトを作成してみてください。
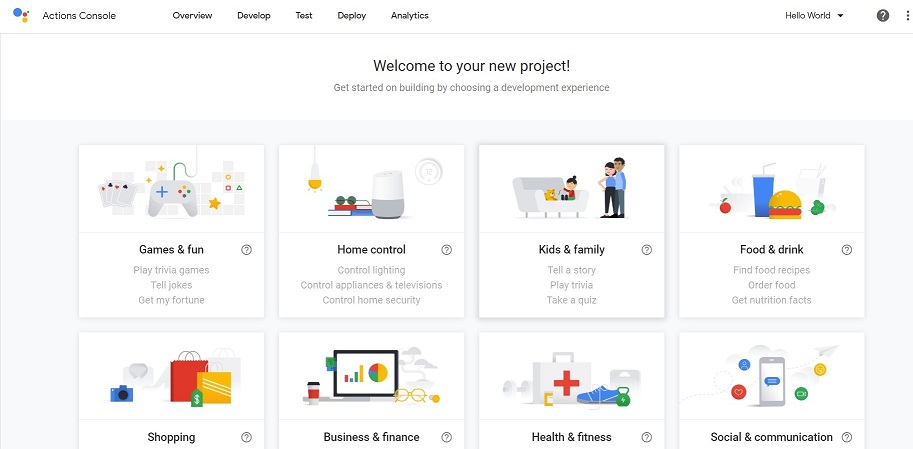
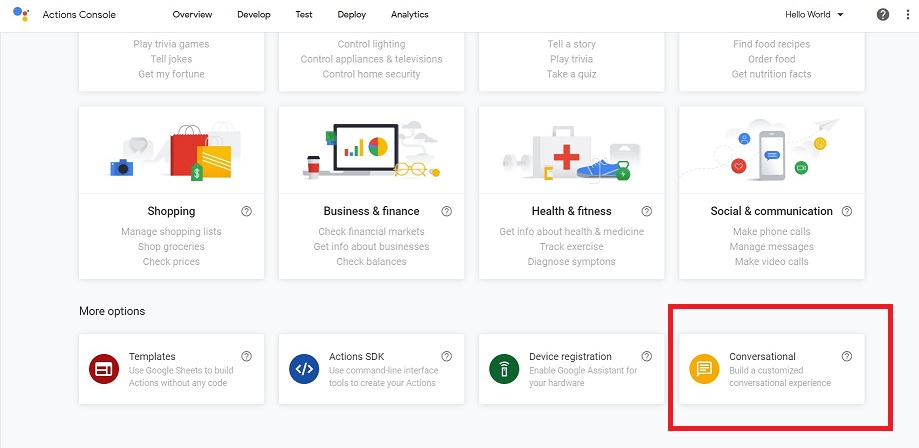
テンプレートを選びます。
今回は、ただ応答するだけのアプリを作成しますので、右下の「Conversational」を選択します。
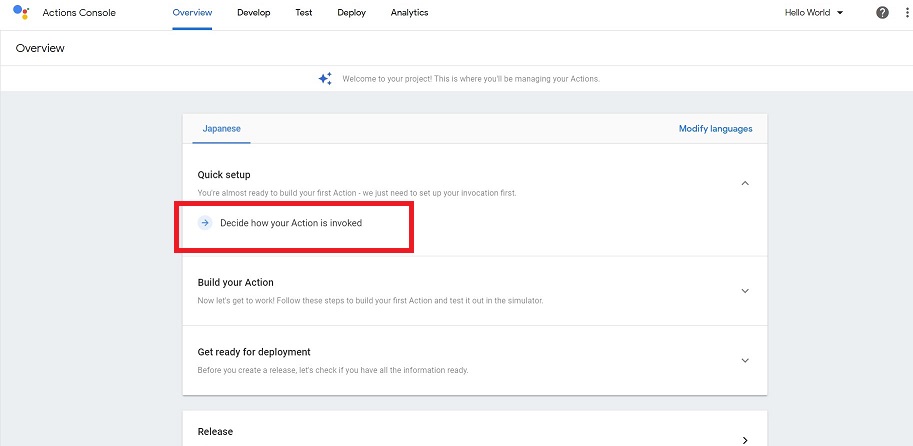
プロジェクトの初期画面が表示されました。Quick setupから順に設定していきます。
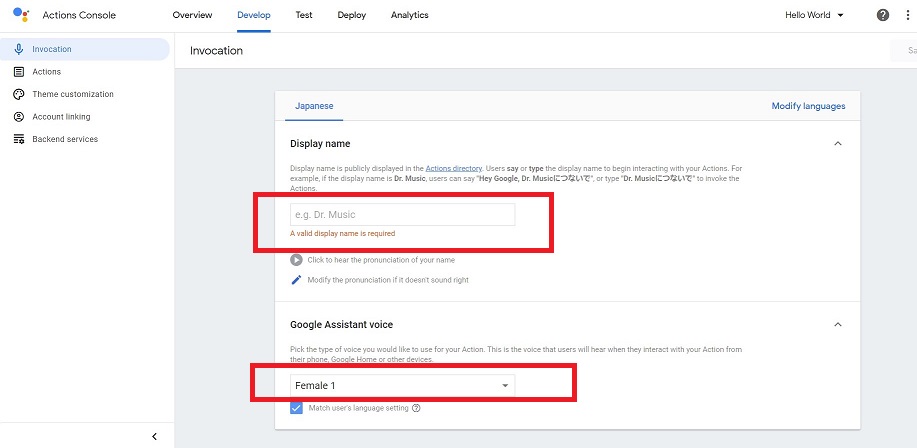
まずはInvocationという項目から、アプリ名を設定します。赤枠で囲ったアプリ名と、応答するアシスタントの声を指定します。
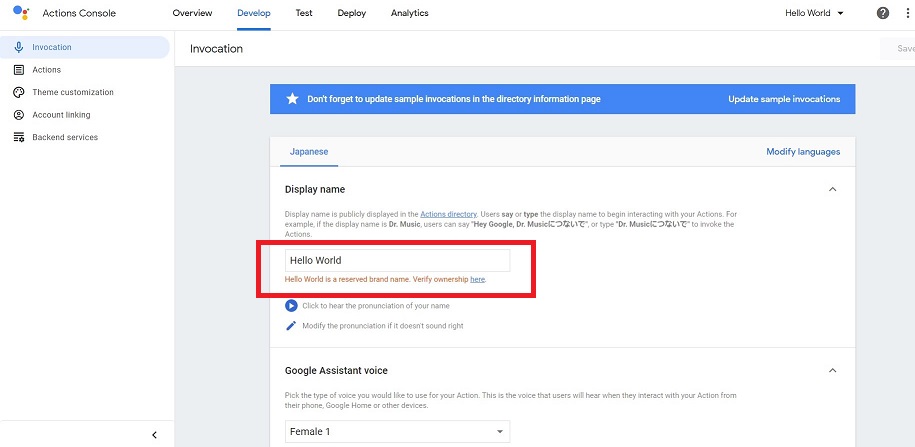
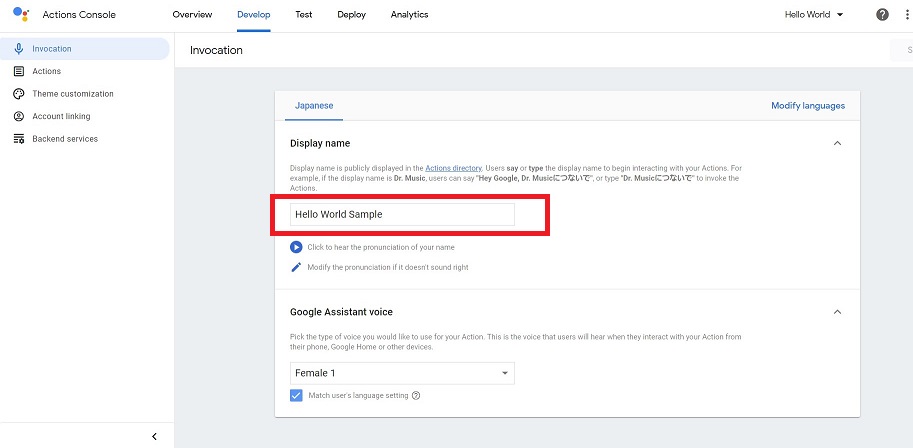
ここのアプリ名は一意の名前にしないといけないので、ありふれた「Hello World」だと作成できませんとエラーになってしまいました。よって「Hello World Test」に変更しています。
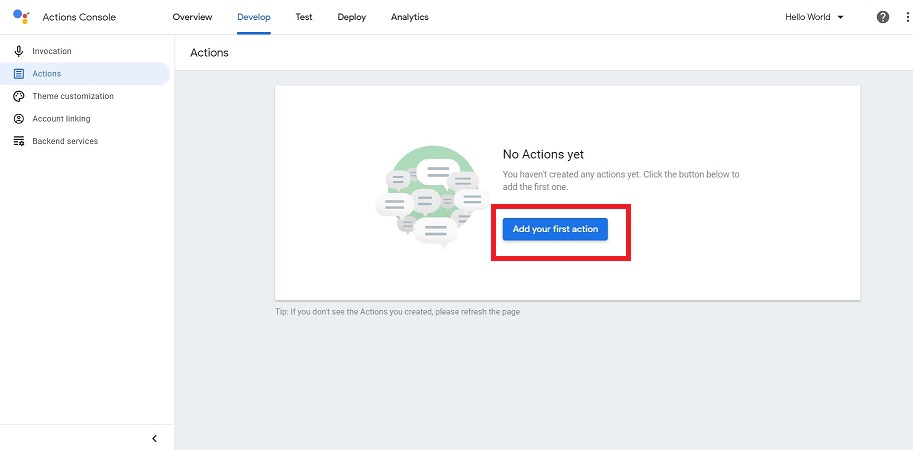
次はアクションを設定していきます。
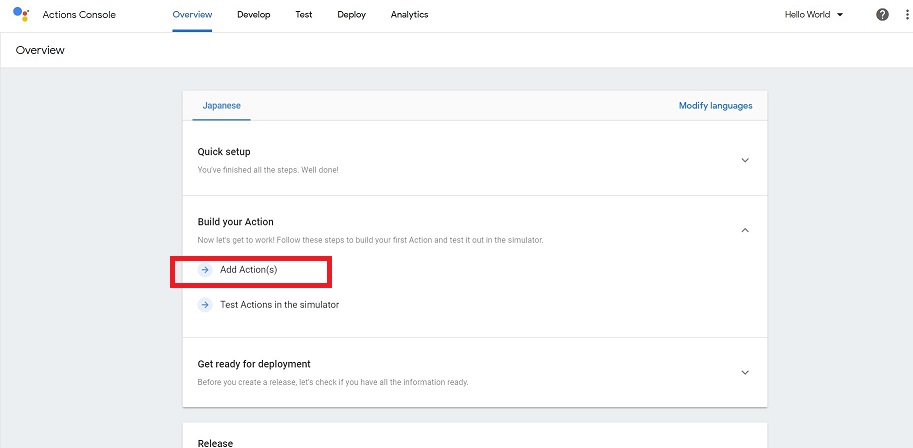
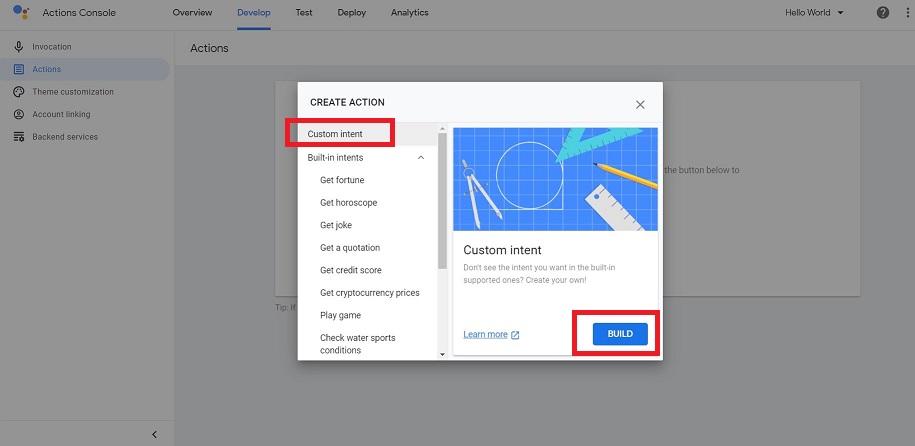
「Add your first action」→「Custom Intent」→「BUILD」の順に選択していきます。なおここからは、Dialogflowでアクションを設定していきます。
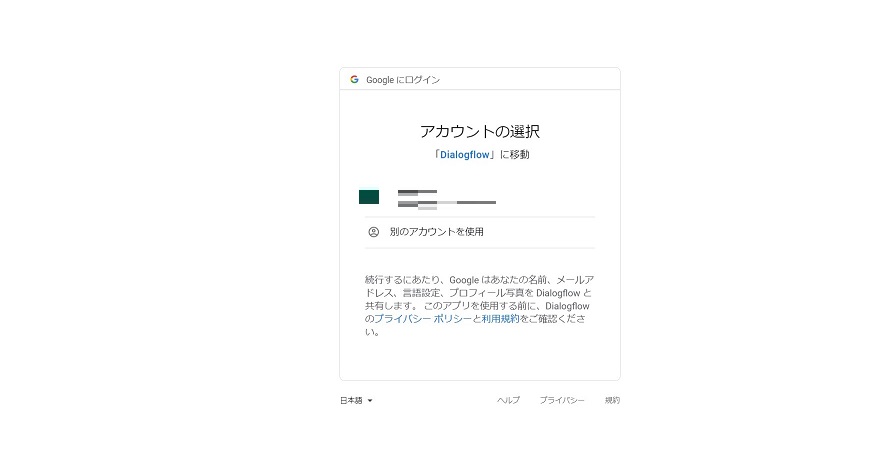
Dialogflow
Dialogflowにログインしましょう。
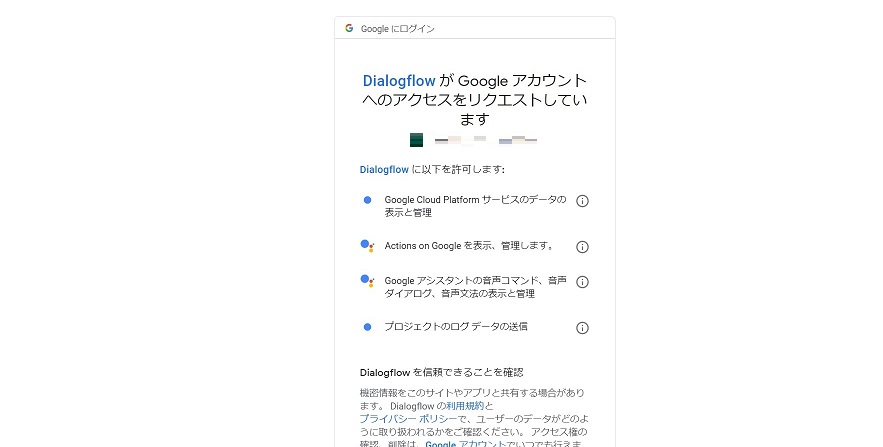
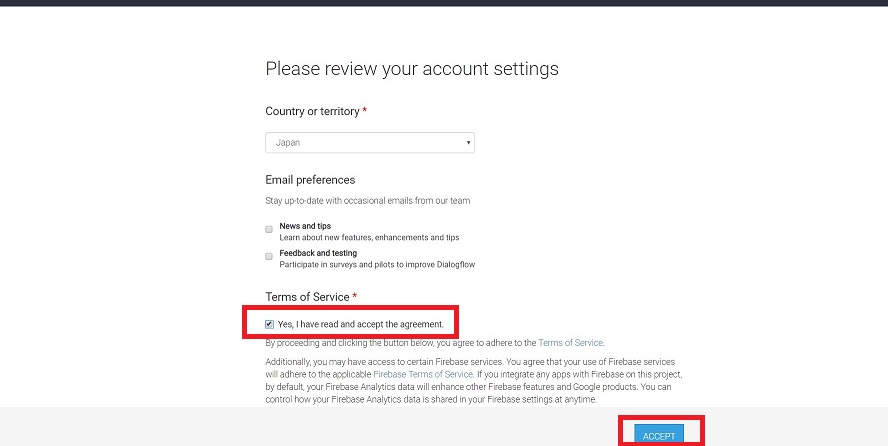
規約を読んだら、チェックをつけACCEPTをクリックします。
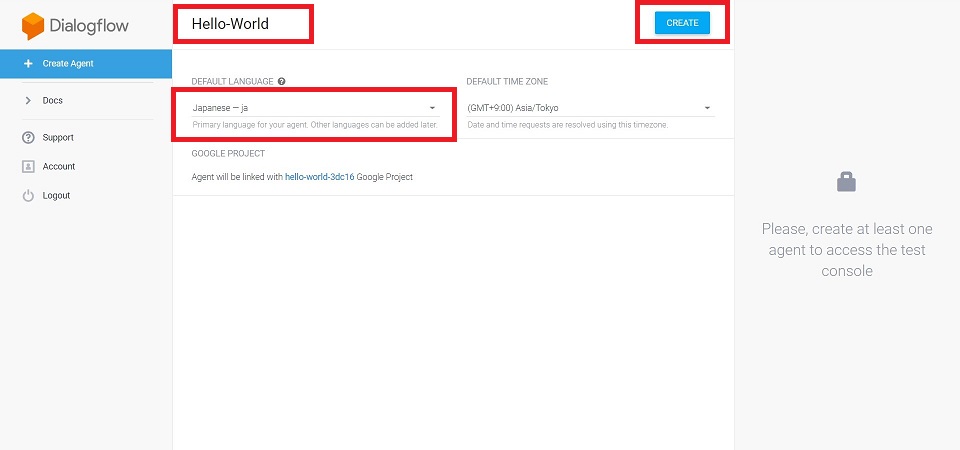
Dialodflowにログインできました。早速プロジェクト名をつけていきます。
ここでは、分かりやすいようにActions on Googleのプロジェクト名と同じ「Hello World」にしています。国も日本に変更しておきます。
次にインテントの設定です。この設定により、「〇〇という指示が来たら、××を応答する」という処理を指定することができます。
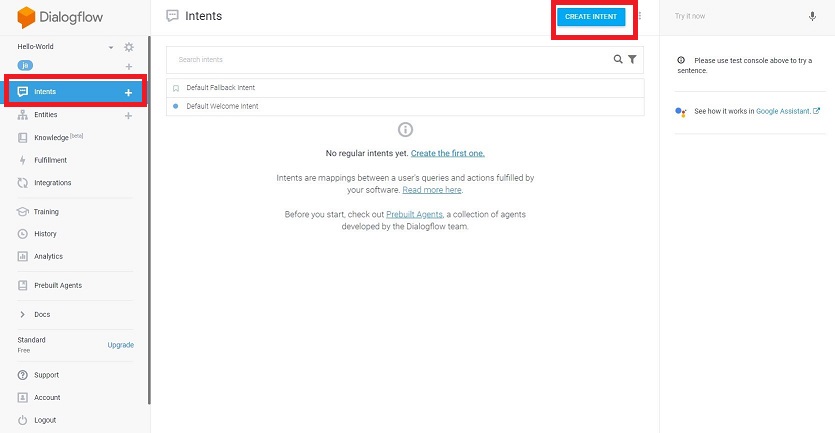
今回は、あいさつされたら「ごきげんよう」と応答するインテントを作成したいと思います。
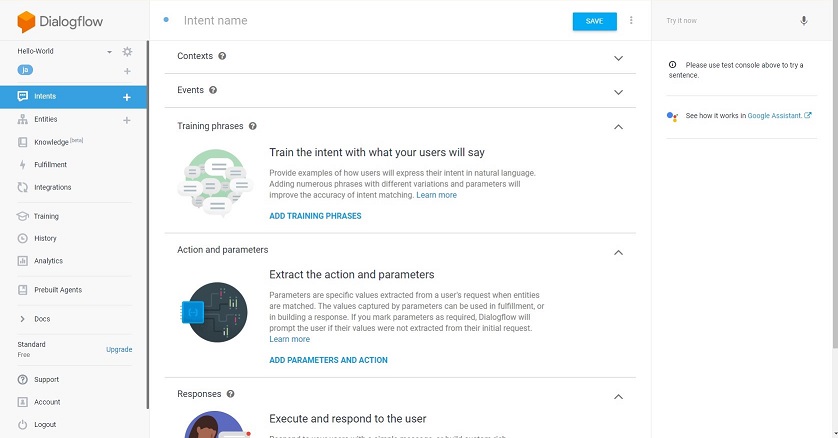
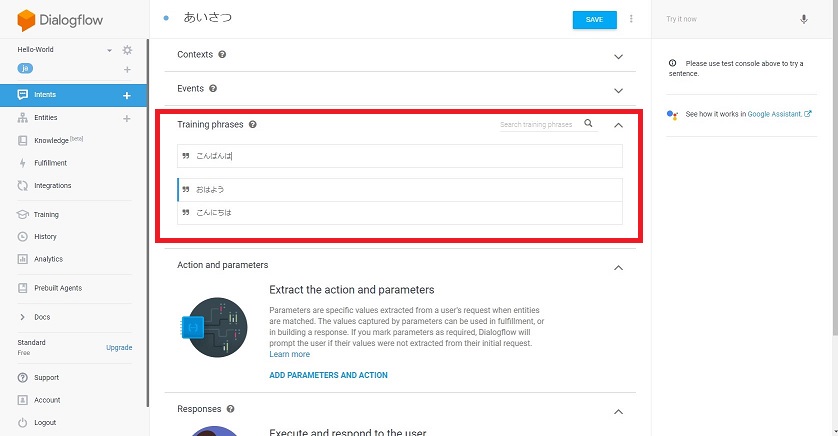
「Training Phases」に、「〇〇という指示が来たら、××を応答する」の〇〇の部分を指定します。
あいさつの種類は「おはよう」「こんにちは」「こんばんは」の3種類登録しておきます。
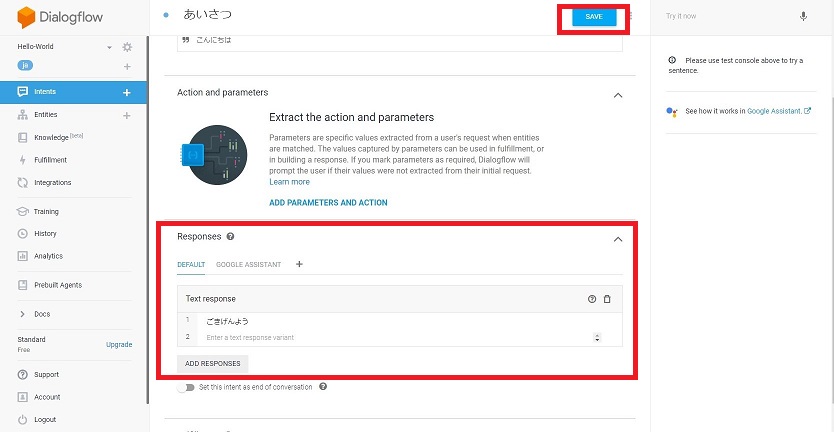
そして「Responses」にて、「〇〇という指示が来たら、××を応答する」の××の部分を指定します。
今回は、上で指定したあいさつが来たら、「ごきげんよう」と返すよう設定します。
設定が終わったら、右上のSAVEボタンをクリックして保存します。
さて、これで今回のただ応答するだけのアプリ作成は完了です。右上のシミュレーターからテストしてみましょう。
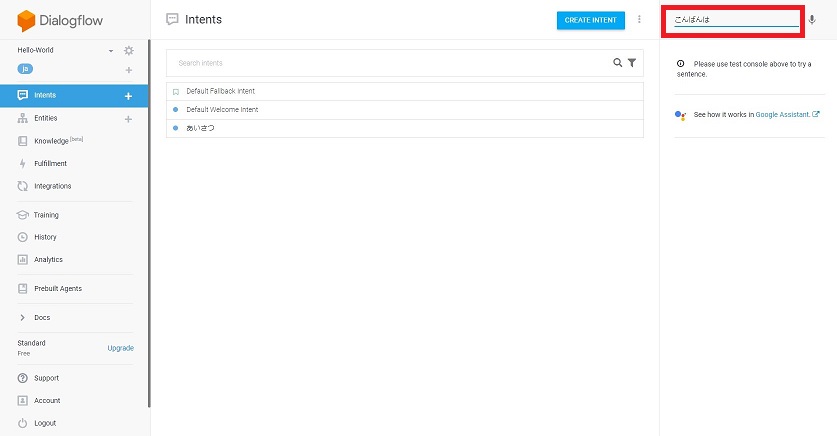
「こんばんは」と入力すると、「ごきげんよう」と表示されましたね!成功です。

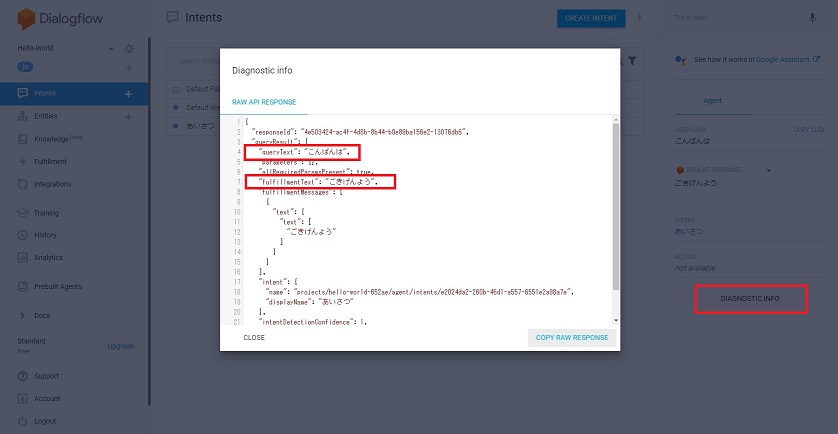
「DIAGNOSTIC INFO」を見ると、正しく応答されているログが確認できますね。
シミュレーター検証
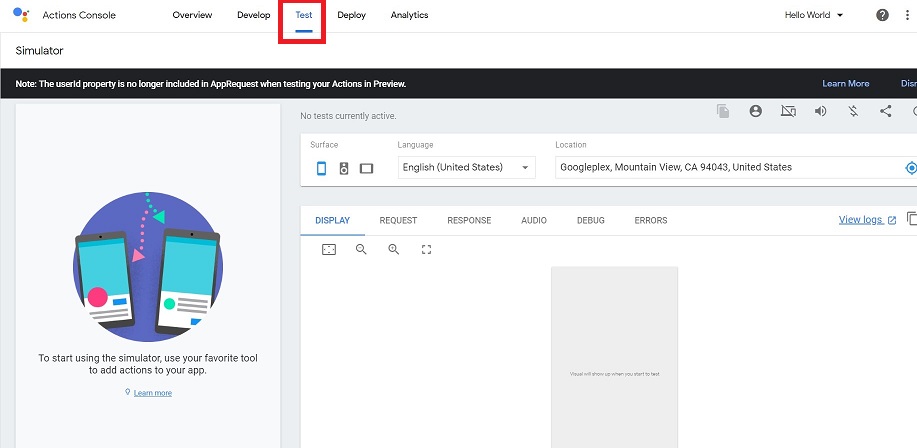
それでは、Actions on Googleのシミュレーターから確認してみましょう。
Actions on Googleに戻り、「Test」でシミュレーターを起動できます。
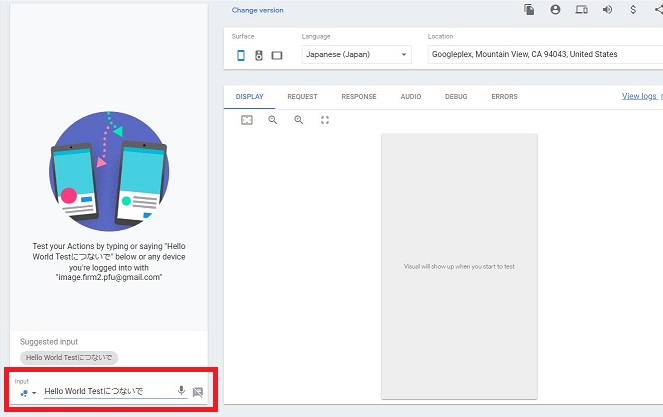
左下の入力欄に、アプリ名「Hello World Testにつないで」と入力します。
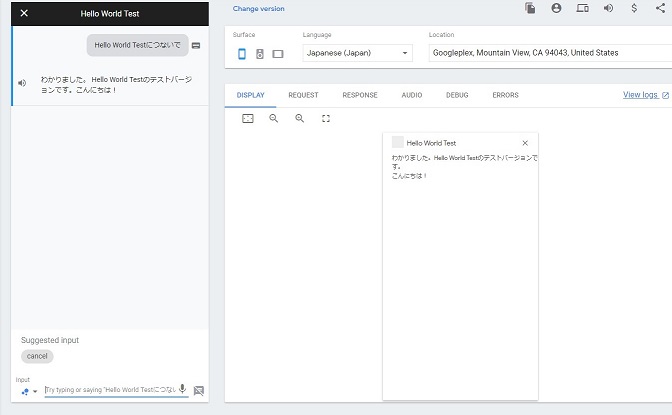
すると、無事起動できたことが確認できると思います。
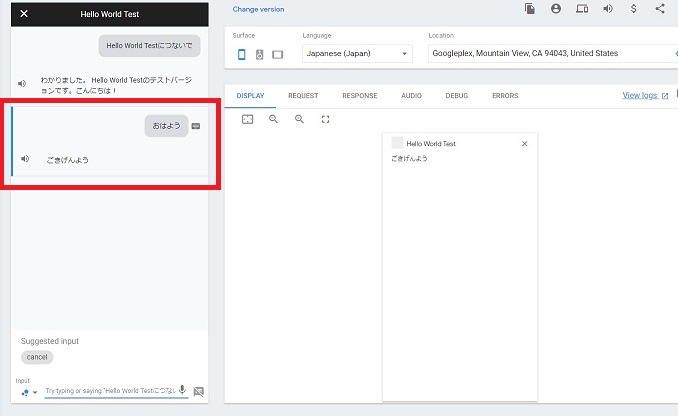
そして、あいさつを入力すると、「ごきげんよう」と期待通り応答されていることが分かります。成功です!
念のため、スマホ実機でも確認してみましょう。
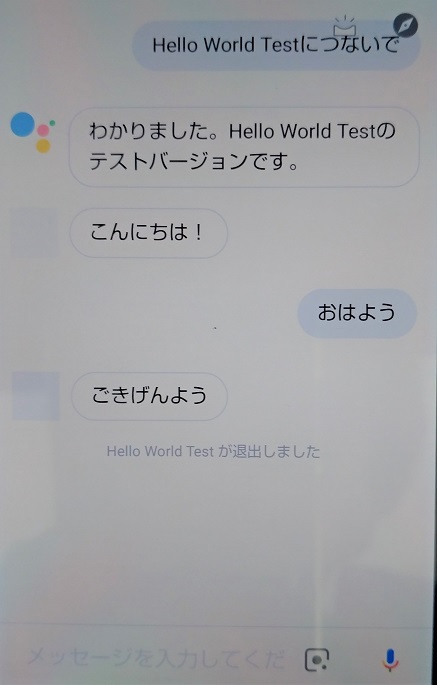
OKですね!
まとめ
今回は、Actions on GoogleとDialogflowを用いて最も簡単なただ応答するだけのアプリを作成してみました。
ノンプログラミングで簡単に作成できますので、ぜひみなさんも作ってみてください。


のデメリット-320x180.jpg)